

Embarking on a wallpaper removal project can feel daunting, but with the right approach, it’s a crucial first step towards transforming your space. A successful removal paves the way for a smooth, clean surface, essential whether you’re planning a fresh paint job or a stunning new application from Aspect Wallpaper. Understanding the best practices for stripping old wallpaper not only saves time and effort but also protects your walls from damage, ensuring a flawless foundation for your next design vision.
Assess Your Walls and Prepare Your Workspace
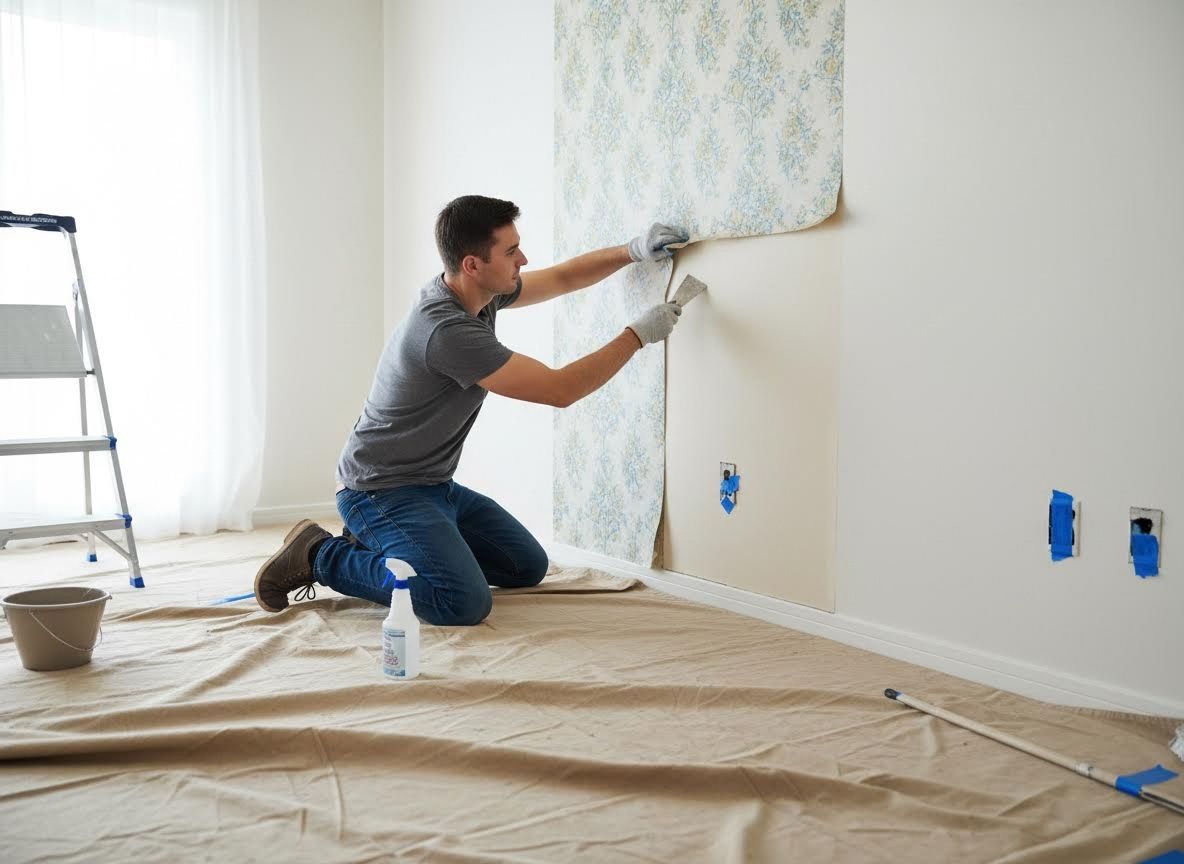
Before you even think about scraping, take time to understand the type of wallpaper you're dealing with and properly prepare the area. Different wallpapers, such as peel-and-stick versus traditional paste-backed, require varied removal techniques. Begin by protecting your floors and furniture with drop cloths and removing any wall fixtures. It's also wise to turn off the power to outlets and switches in the work area for safety. A small test patch in an inconspicuous area can reveal how easily the wallpaper will come off and what method might be most effective, helping you decide if you need to tackle it yourself or call a professional wallpaper installer.
Gather the Right Tools and Master the Techniques
Having the correct tools makes all the difference in a smooth wallpaper removal process. Essential items typically include a scoring tool to perforate the wallpaper, a spray bottle with a wallpaper stripping solution or warm water, a broad putty knife or scraper, and a bucket for discarded paper. For stubborn wallpaper, a steamer can be incredibly effective, using heat and moisture to loosen old adhesive. Apply your chosen solution generously, allowing it to soak in according to product instructions, then gently begin scraping from the bottom up, or from a loosened seam. Patience is key to avoid damaging the drywall beneath.
Post-Removal Wall Preparation for a Flawless Finish
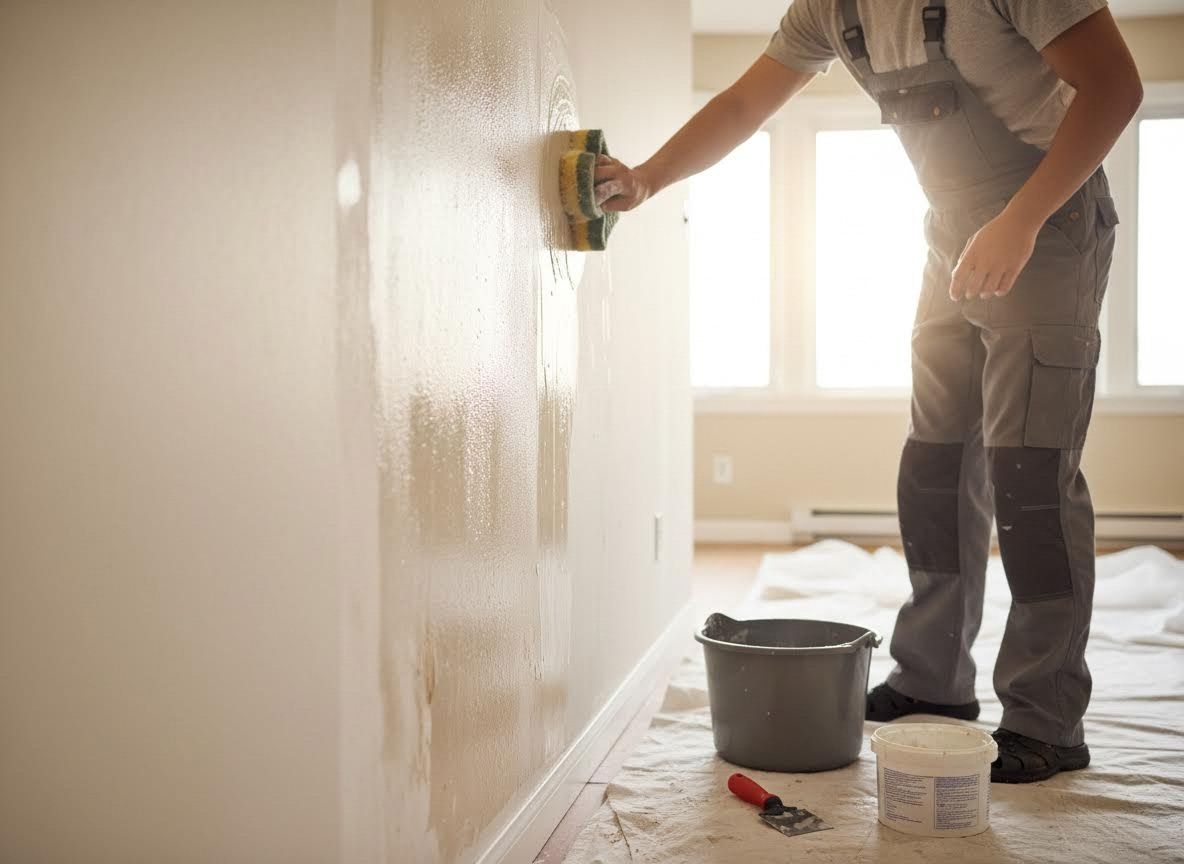
Once all the wallpaper is removed, the job isn't quite done. The next critical step is to thoroughly clean the walls to remove any residual adhesive, which can interfere with subsequent paint or new wallpaper adhesion. Use a damp sponge and a mild detergent or specialized adhesive remover, then rinse the walls with clean water. Allow the walls to dry completely before inspecting for any damage, such as gouges or holes, which should be repaired with spackle or joint compound. Finally, apply a high-quality primer, ideally one designed for sealing bare drywall or covering old adhesives, to create an even, consistent surface for your upcoming residential or commercial wallpaper installation.
Ready for a Smooth New Beginning?
Successfully removing old wallpaper is a meticulous process that sets the stage for a truly high-end interior. It’s more than just stripping a wall; it’s about carefully assessing the substrate and preparing a pristine surface that ensures your next design looks flawless. While a DIY attempt can quickly lead to gouged drywall or stubborn adhesive residue, a professional wallpaper contractor ensures your walls are protected and perfectly primed for their next chapter. Whether you’re clearing the way for a bold new pattern or a fresh coat of paint, a professional touch ensures the process is as smooth as the final result.