
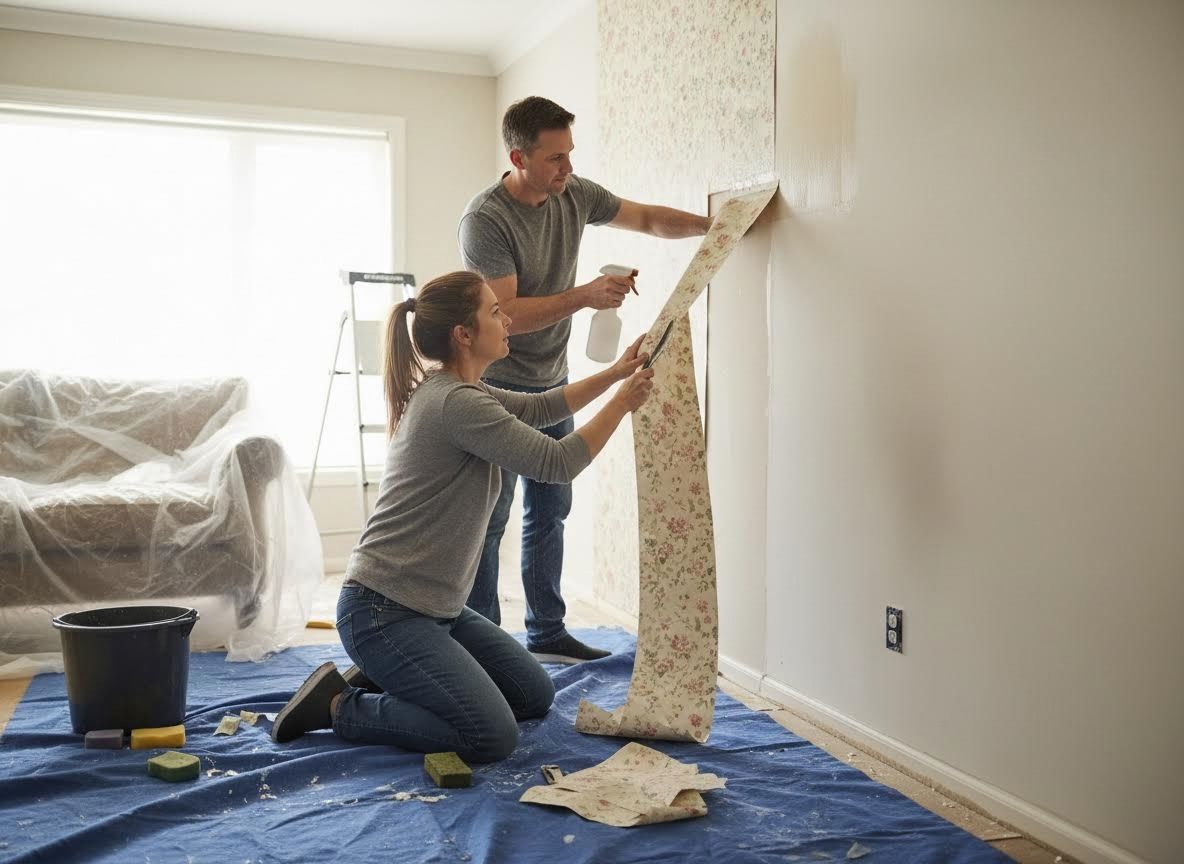
Embarking on a wallpaper project, whether it's a fresh installation or simply refreshing your space, often begins not with hanging, but with careful removal and meticulous wall preparation. A flawless finish hinges entirely on the quality of the surface beneath, making these initial steps critical to transforming your space. At Aspect Wallpaper, we understand that every wall tells a story, and sometimes, that story needs a new chapter. This guide will walk you through the essential process of preparing your walls for their next stunning covering.
Assessing Your Wallpaper and Gathering Tools
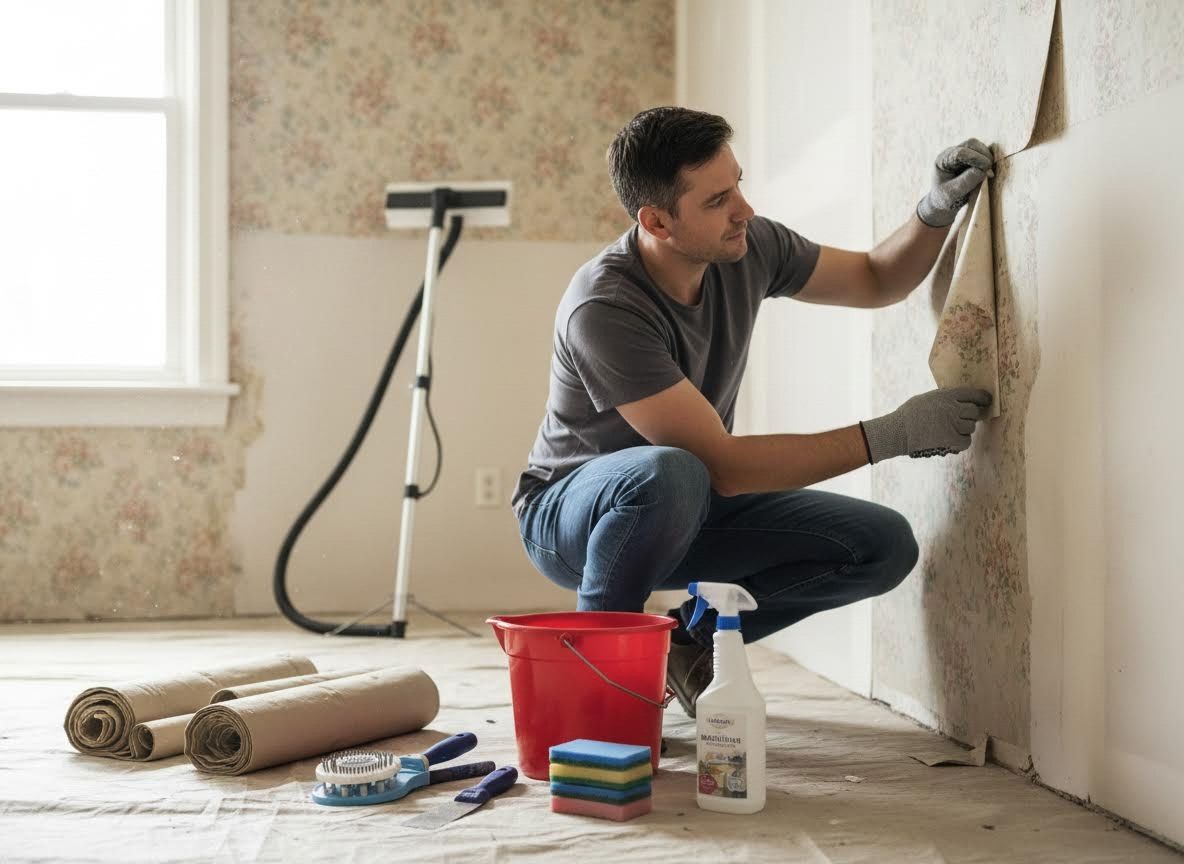
Before you dive in, it's crucial to identify the type of wallpaper you're dealing with, as this will dictate your removal approach. Older wallpapers, especially those from the 1970s and 80s, might be non-strippable and applied directly to unprimed drywall, requiring more effort. Newer, "strippable" or "peelable" wallpapers are designed for easier removal. Essential tools include a scoring tool (perforator), a spray bottle or garden sprayer, a wide putty knife or scraper, a bucket, sponges, drop cloths, and appropriate wallpaper removal solution or a mixture of hot water and liquid dish soap. For stubborn cases, a steam stripper might be necessary, but exercise caution to avoid damaging the wallboard.
Step-by-Step Wallpaper Removal Techniques
Begin by protecting your floors and furniture with drop cloths. For most non-strippable wallpapers, you'll need to score the surface gently. This allows your removal solution to penetrate the paper and dissolve the adhesive. Be careful not to press too hard, especially if you have drywall underneath, as deep scoring can damage the paper facing of the drywall. Next, generously spray a section of the scored wallpaper with your chosen removal solution or hot water mixture, letting it soak for 10-15 minutes. This allows the solution to work its magic on the adhesive. Once softened, use your putty knife to gently lift a corner of the wallpaper and peel it away from the wall. Work in small sections, re-applying solution and waiting as needed. If you encounter multiple layers, be patient; each layer may require its own soaking and peeling.
Essential Wall Preparation for a Flawless Finish
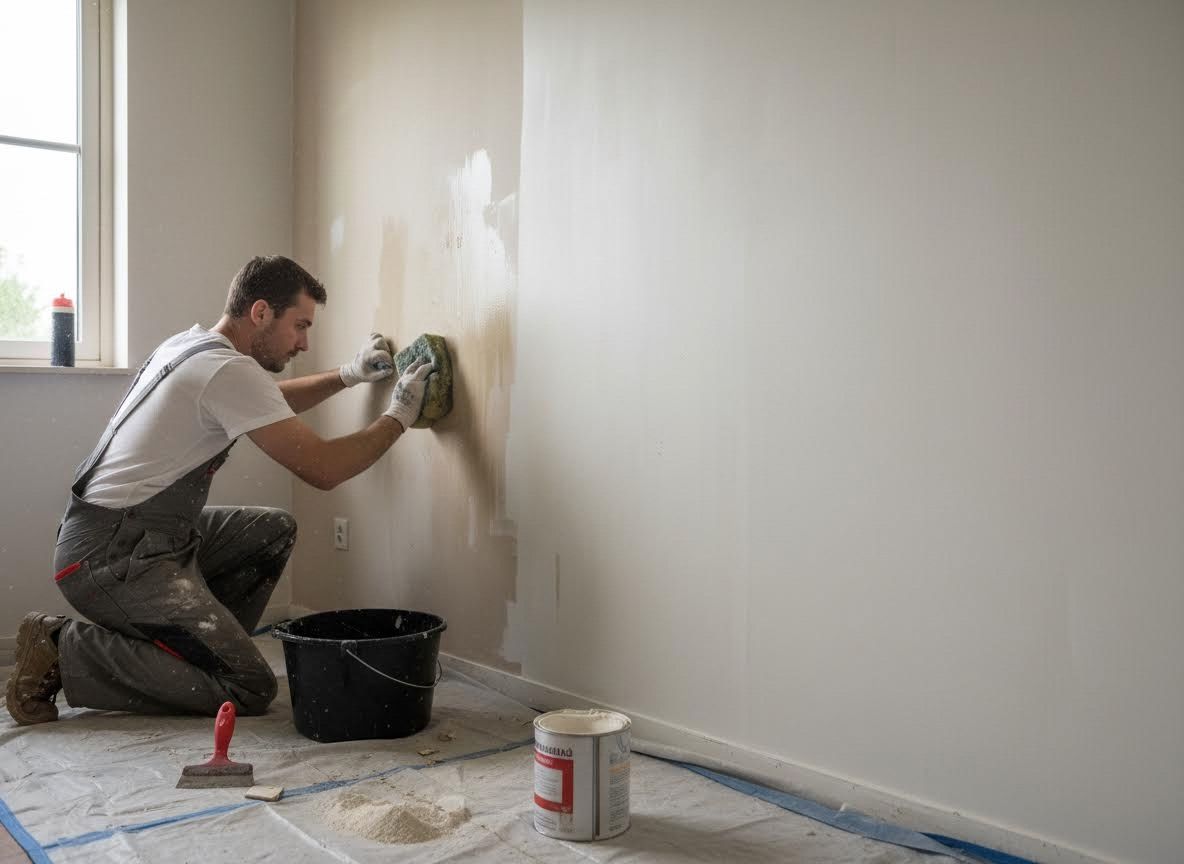
Once all the wallpaper is removed, the work isn't over. Residual adhesive must be thoroughly cleaned from the walls using warm water and a sponge, ensuring no sticky spots remain. Any lingering glue can prevent new wallpaper from adhering properly or cause paint to peel. After cleaning, allow the walls to dry completely. Inspect the surface for imperfections: nail holes, small dents, or gouges. These should be patched with spackle or joint compound, sanded smooth once dry, and then wiped clean of dust. Finally, apply a high-quality primer-sealer, specifically designed for wallpaper or new paint. This step is critical as it seals the wall, prevents absorption inconsistencies, and provides a uniform surface for your next wallcovering, ensuring a professional, long-lasting result.
The journey from old to new walls is a meticulous one, requiring patience and attention to detail. By understanding the nuances of wallpaper removal and committing to thorough wall preparation, you lay the groundwork for an exquisite transformation. Just as a strong foundation supports a beautiful building, proper wall prep is the bedrock of a stunning interior. To explore how professional expertise can elevate your next design project, consider learning more about the art of precise wallcovering installation.