
Achieving a perfect wallpaper finish goes beyond just choosing the right pattern; it hinges significantly on proper wall preparation. At Aspect Wallpaper, we know that a flawless application starts long before the first roll is hung. This guide will walk you through the essential steps to prepare your walls, ensuring a beautiful and lasting result that will transform any room. Neglecting these initial stages can lead to frustrating imperfections, making the investment in quality wallpaper far less impactful.
Inspecting and Cleaning Your Surfaces
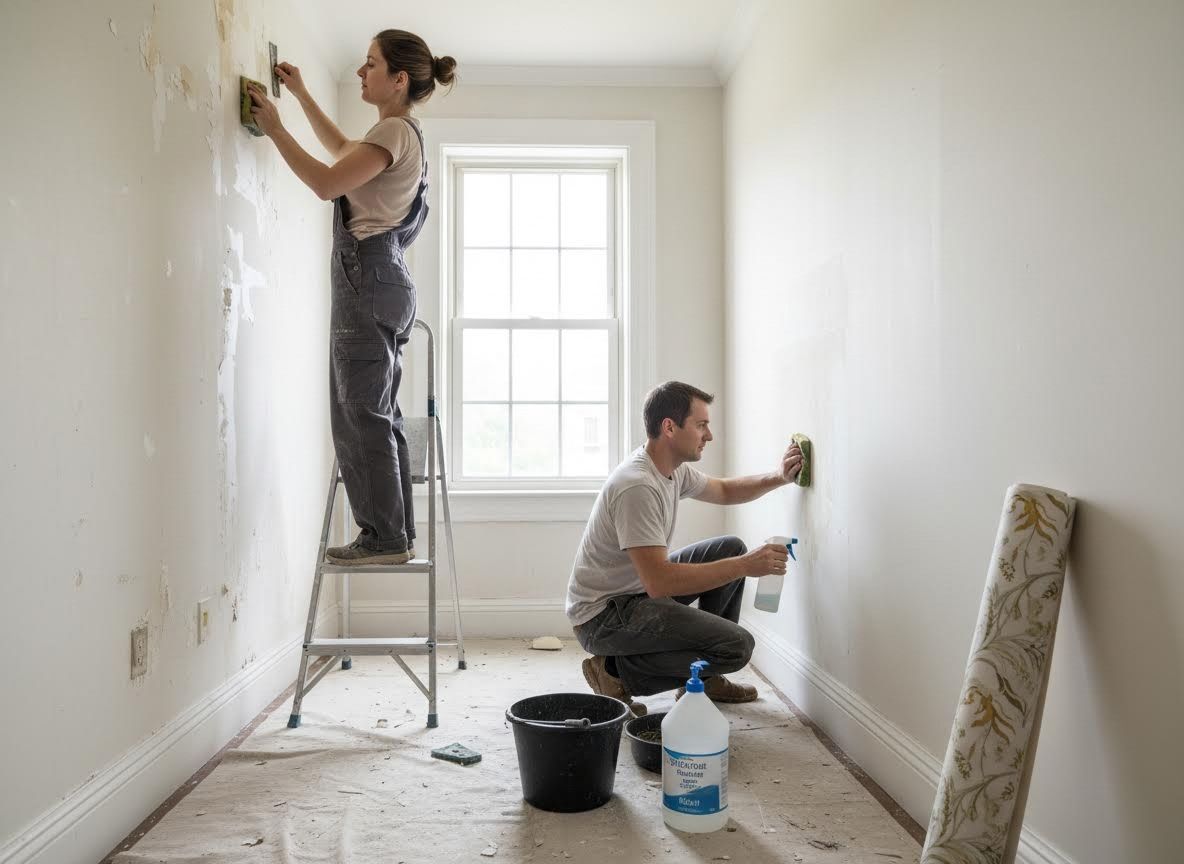
Before anything else, thoroughly inspect your walls for any existing damage or imperfections. Look for cracks, holes, loose paint, mildew, or grease stains. All existing wallpaper should be completely removed, and any adhesive residue must be washed away. For painted walls, ensure the paint is in good condition; if it's peeling or chalky, it will need to be scraped, sanded, and cleaned. A clean wall is a non-negotiable first step, so wash all surfaces with a mild detergent solution, rinse thoroughly, and allow them to dry completely.
Repairing Imperfections
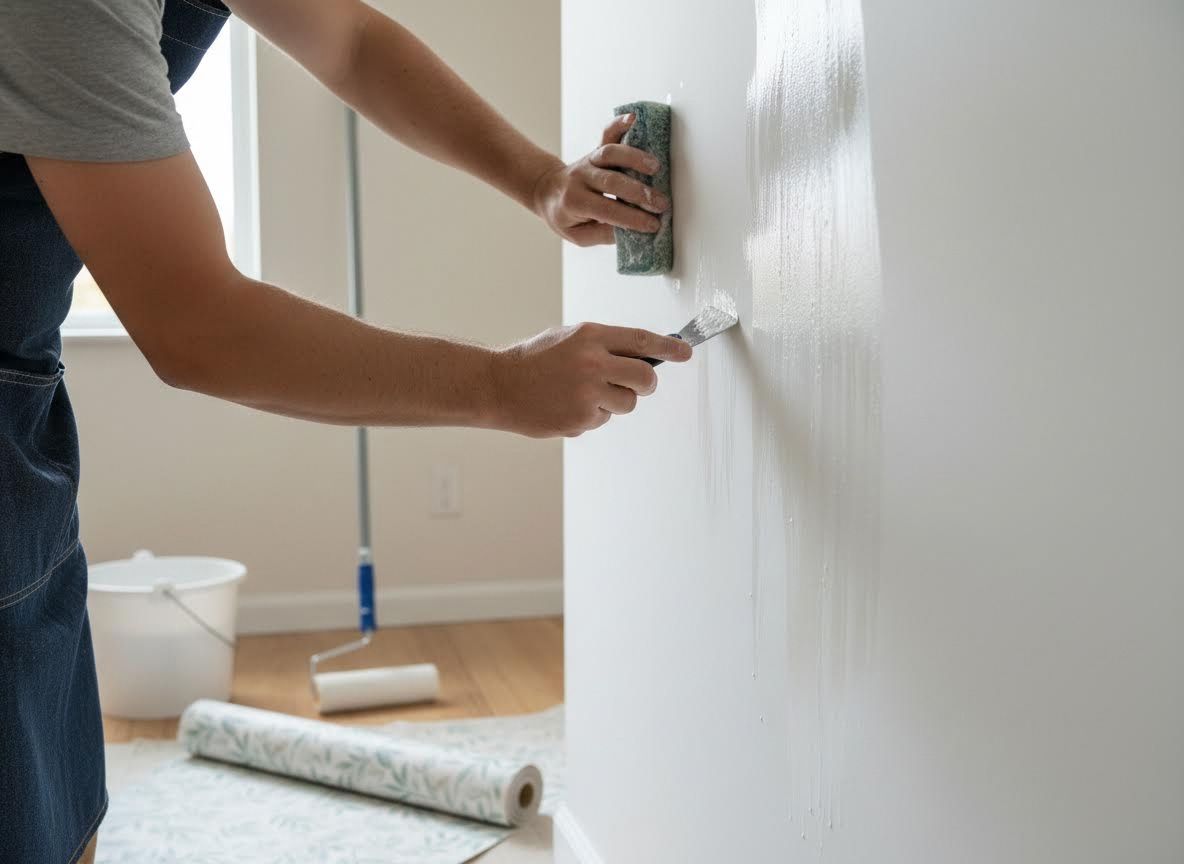
Once clean, address any identified wall damage. Fill small nail holes and minor cracks with spackling paste, using a putty knife for a smooth application. For larger holes or more significant damage, joint compound might be necessary. Apply in thin layers, allowing each to dry fully before sanding smooth. Ensure all repaired areas are flush with the rest of the wall to prevent noticeable bumps under the wallpaper. A perfectly smooth and even surface is critical for the wallpaper to adhere correctly and look seamless.
The Importance of Priming
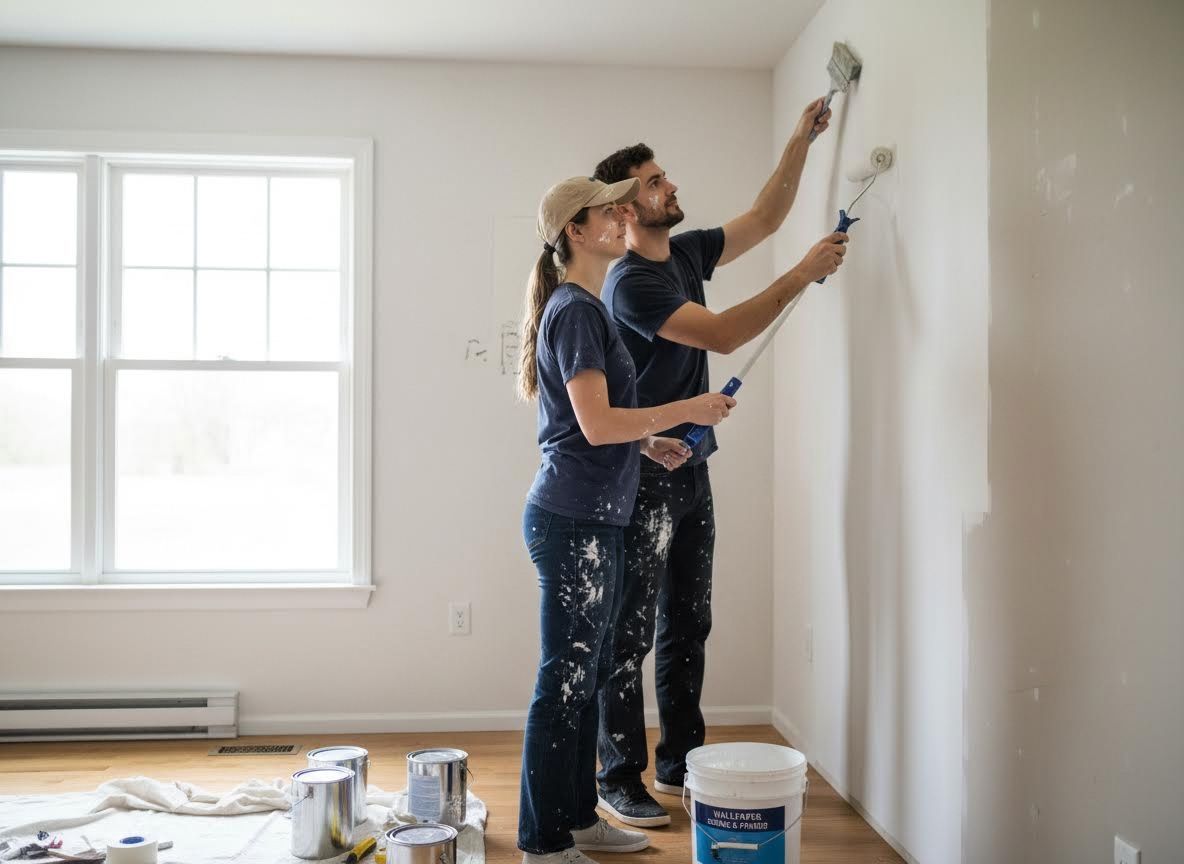
Priming is a crucial step often overlooked, yet it significantly impacts the final result and longevity of your wallpaper. A high-quality wallpaper primer or "sizing" creates a uniform surface, sealing porous drywall or older paint and preventing the adhesive from soaking in unevenly. It also promotes better adhesion, makes it easier to position the wallpaper, and perhaps most importantly, simplifies future wallpaper removal. Choose a primer specifically designed for wallpaper application, especially if you are covering dark colors or walls with stains, as it will provide a consistent base coat.
Final Sanding and Smoothness
After the primer has fully dried, a final light sanding with fine-grit sandpaper is the secret step that separates a standard job from a professional-grade finish. This process removes any tiny dust particles or minor burrs that may have settled during the priming stage. Once finished, wipe the walls down one last time with a tack cloth or a damp sponge to remove every trace of dust. At this stage, your walls should feel almost as smooth as glass. This is especially critical for modern metallic, silk, or high-sheen wallpapers, as these materials are unforgiving and can magnify even the smallest grain of sand left on the wall beneath them.
Foundations for a Flawless Transformation
Wall preparation may not be the most glamorous part of a renovation, but it is undoubtedly the most important. By taking the time to clean, repair, and prime your surfaces, you are ensuring that your chosen wallpaper looks exactly as the designer intended. A well-prepared wall doesn’t just make the installation process smoother; it protects your investment and ensures that your beautiful new space remains pristine and peel-free for years to come. When the foundation is perfect, the final result is nothing short of a masterpiece.